
In this blog, I am on a little trip to show you exactly how to capture cinematic shots—completely by yourself. I’ll talk about focus, coverage, types of shots and avoiding mistakes.
We don’t always have actors or friends around to help bring our vision to life. But that shouldn’t stop us from sharpening our craft or just getting outside to film something beautiful.
Even if you don’t have a professional equipment, you can learn a lot from this video. But because I’m a professional videographer, I will be using my main gear which is Sony Alpha 7SIII with Tamron 35 mm lens with 2.8 aperture.
Location
Before any filming, I’d like to do a location scouting which is walking the location beforehand and taking pictures to see how it’s going to look like on camera. This will save me a lot of time on the filming day because I won’t have to spend time on figuring out where exactly is a good shot, where is the best privacy, the best light and so on. And when filming outside by yourself, it’s going to be hard to just keep changing location trying to find the best spot when you have to carry everything yourself.
When filming yourself, you need to be aware where your gear is at all times and make sure nobody has the opportunity to steal it. Especially when filming a wide shot where you don’t want some of your stuff to be in the shot.
The story
So what’s the story? You don’t need a complex plot, but it needs to make sense for the viewer.
The biggest mistake for newbie filmmakers is when they forget to film transition shots of getting from one location to another. So don’t forget those.
I don’t usually do storyboards for these kind of short films but I always make a shotlist to avoid forgetting an important shot. I also definitely figure out my establishing shot and end shot for the film. I believe it’s important to know how your film starts and how it ends. Of course, there’s always a possibility to change it in the post production.
The shots
When filming yourself, Ideally you should have a tripod for more flexibility when nobody can hold your camera. You can always improvise but i’d suggest to take a tripod just to make sure your camera is exactly in the position you want.
Because you can’t get the camera to move with you, make sure you’re either moving or something else is moving in the shot like leaves, branches, clouds. Otherwise, it may just look like a photo, not a video. You can pull it off only when you add or use a natural ambient sound of the shot. Little tip for the end, you can always add a little super slow zoom in to your shots in the post if the shots feel a bit static.
Personally, I love adding POV shots into my films. There’s something about these shots that make the viewer feel the experience.
Coverage
When filming a scene, get many different angles of the same scene. It will make the edit more dynamic and gives you flexibility in the post production. I always like to get a wide shot, medium shot, close-up, and super close-up, while using either a high angle or low angle, perspective or a spy cam. In post, I will choose which one fits the best.
Be creative with the placement of the camera. It doesn’t always have to be on a tripod. My favourite cinematic shot is a three-layer composition: when your foreground is blurred, the middle section is in focus, and the background is blurred. It adds incredible dimension to the shot.
Focus
When filming yourself, it’s a good idea to use autofocus but not always. if I’m walking towards the camera and I want it to focus on my face—I will use autofocus. Keep in mind that your autofocus can sometimes act out so you always need to check the shot right after to find out if you need to refilm it. The automatic refocusing when you dont want it will ruin the entire shot.
If I want a shot where something else will be in focus, I need to set it up manually before the shot. I can still use continuous autofocus, and for locking it in, I just tap the screen to lock focus. To unlock it, i tap the x.
You can also add motion to the shot with manual refocusing. Mastering the precision of manual refocusing is one of the virtues of a filmmaker. A little tip, It’s much easier to do on a tripod than handheld.
The 180 degree rule
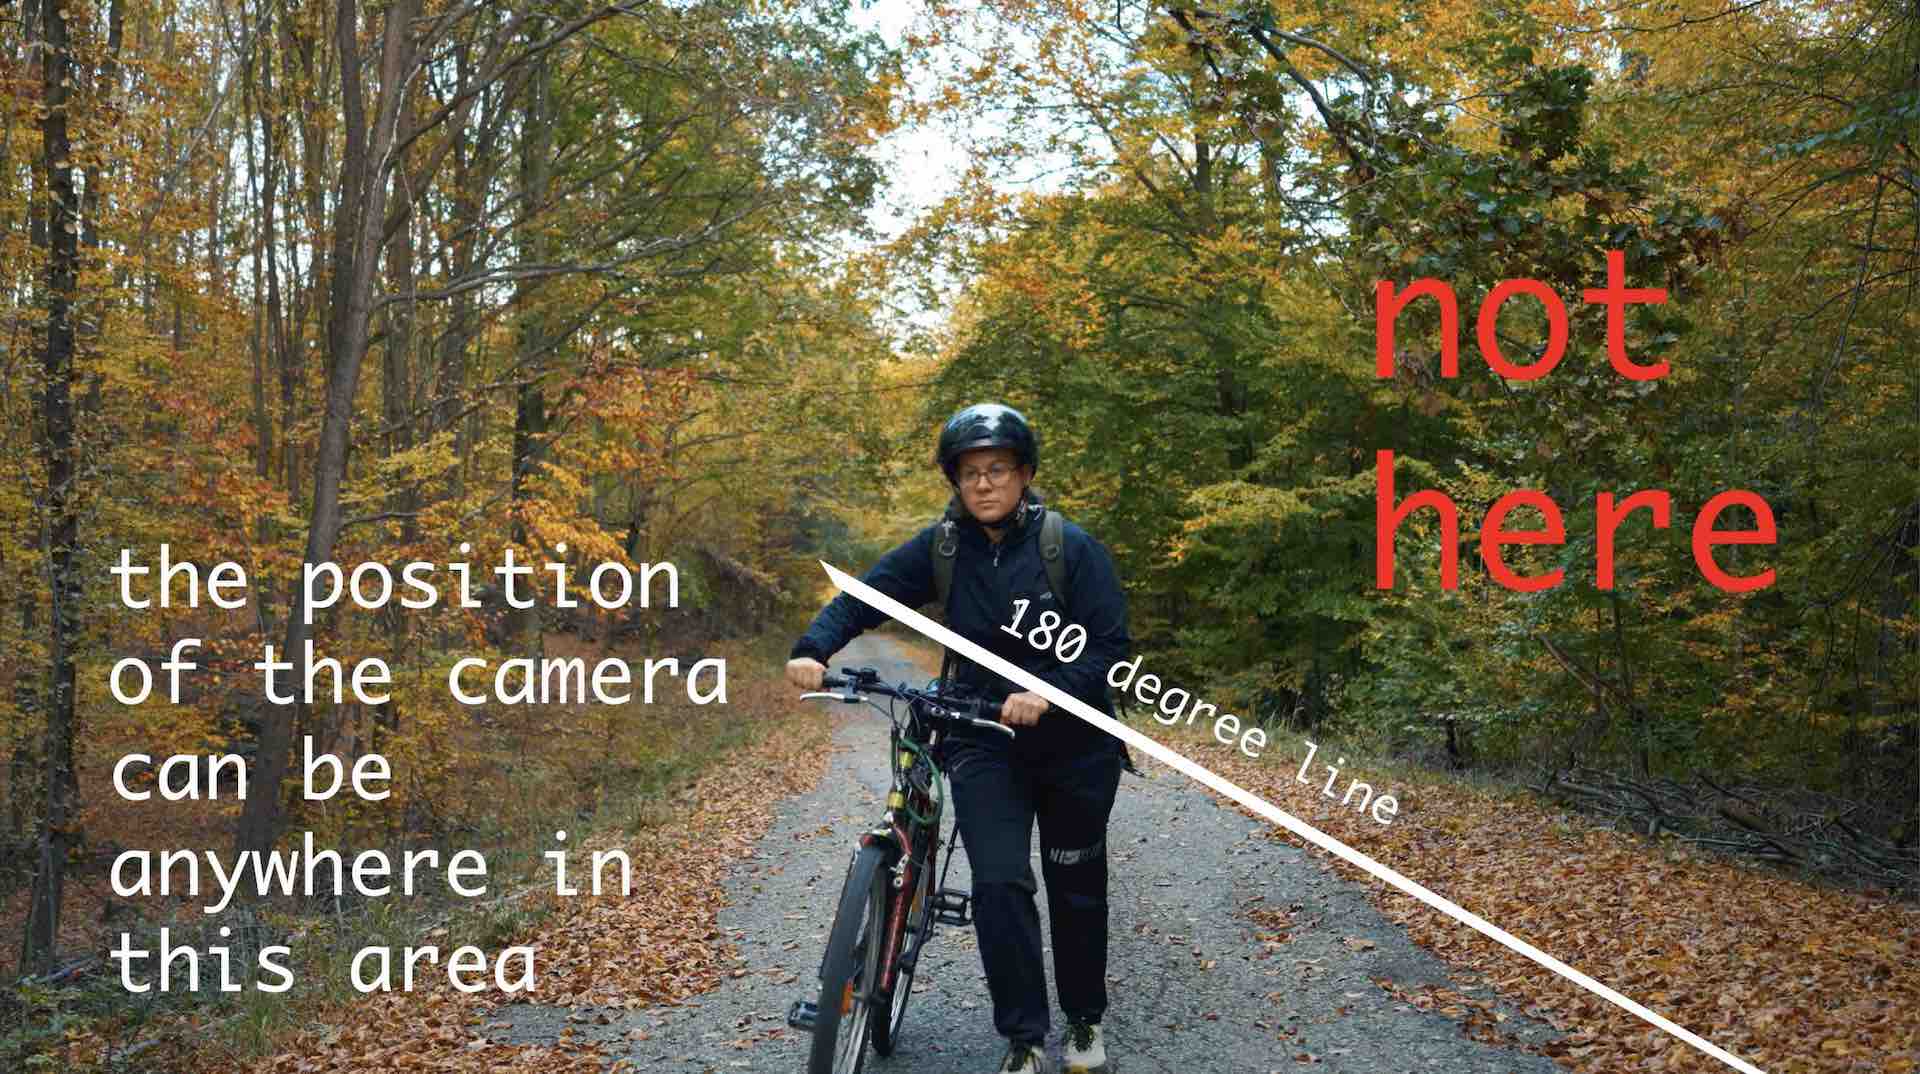
When doing your coverage and you’re walking left-to-right across the frame,, stick to the same side of the action. If you cross the 180-degree line, in the edit, you’ll suddenly look like you’re walking the opposite way. So when you cut between your shots, it’ll look like you’re walking back and forth.
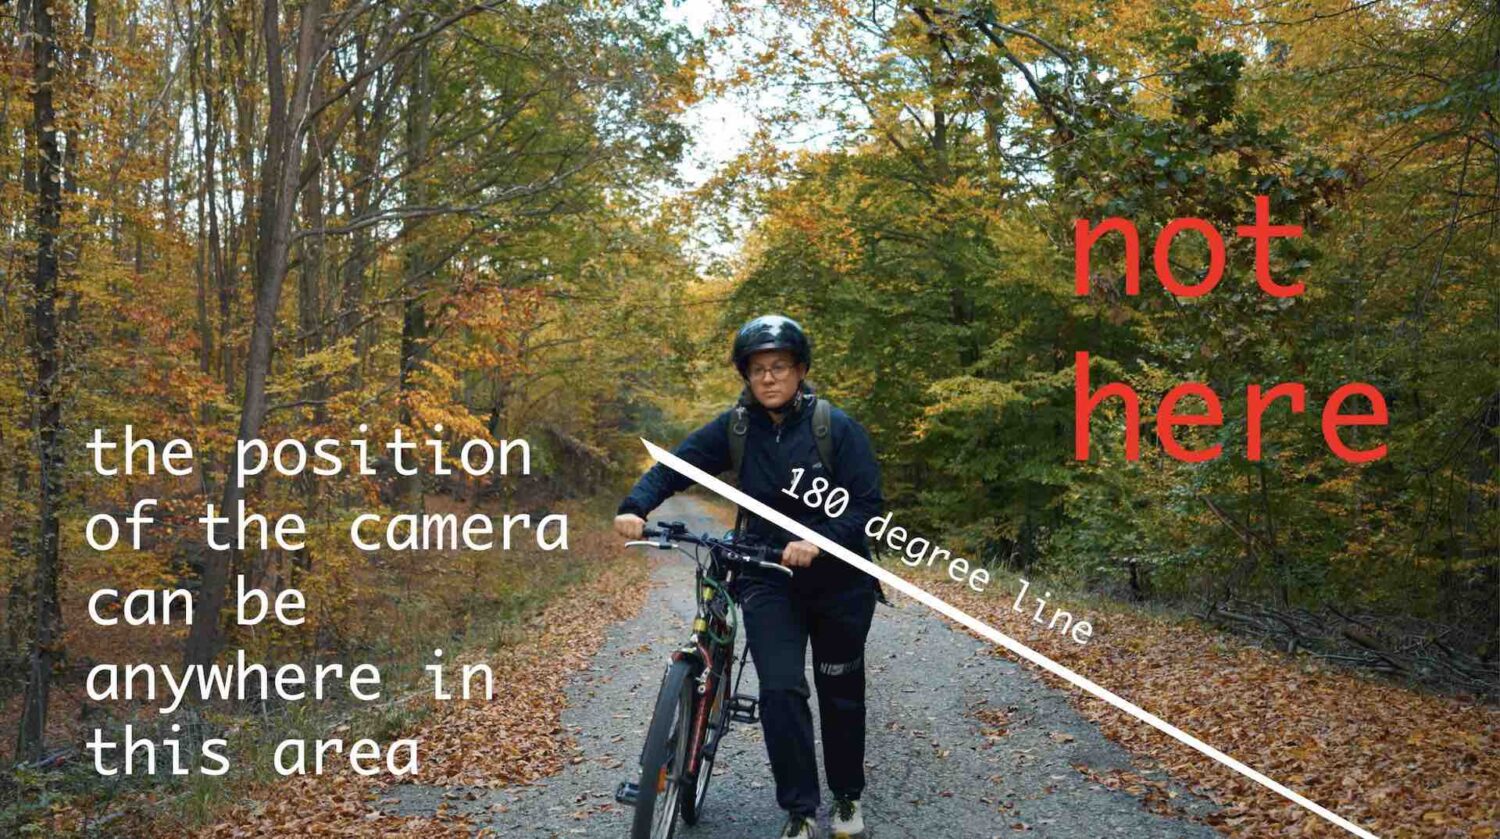
180-degree-rule
Post production
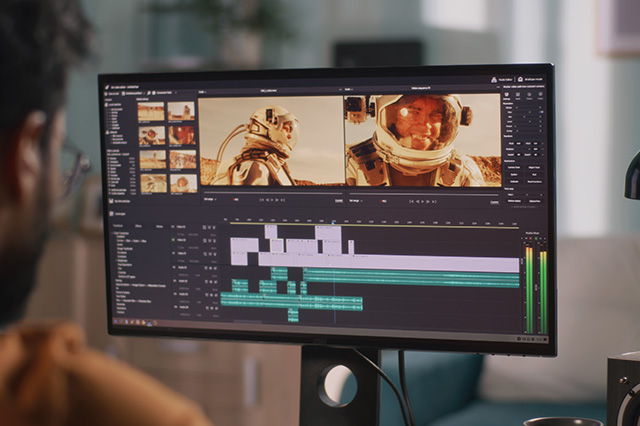
Color grading will add your film another level. Depending on your story, location and weather, the color grading will differ. For this film, I decided to have an uplifting positive grade with nice colours. I do have a collection of my LUTs and I use the one that feels appropriate and possibly make some small tweaks to it. All of my cinematic LUTs are also part of my youtube membership so make sure to join.
The last thing I’ll do is to choose music for my film. As you know, choosing the right music for your film can take 2 minutes to 2 hours. For my youtube videos I use youtube music library which is completely free and easy to download.
I hope you enjoyed this video and for more content like this, make sure to subscribe. You can also access my Premiere pro pdf guide full of hacks and tips and more in my youtube membership.

Comments are closed