When I run trainings for editors, I notice the same pattern: they don’t know all the important Premiere Pro Shortcuts and waste so much time ineffectively. And I get it — Premiere Pro is a huge piece of software. It has menus inside menus, tabs you’ve never opened, and over 400 keyboard shortcuts.
The truth is: you don’t need to know all 400. You don’t even need to know 50. But if you learn just a handful of the right ones, your editing speed goes up instantly.
Stop editing for hours when it can take minutes
Think about it: when you’re editing a project, you repeat the same moves hundreds of times. Cut here, trim there, delete a gap, add a fade. If each move takes you 5 seconds longer because you’re doing it the manual way, multiply that by hundreds of cuts… and you’re losing hours of your life to unnecessary clicks.
That’s why shortcuts are so powerful. It’s not about looking cool smashing the keyboard (although that’s a bonus). It’s about working faster, cleaner, and with less frustration.
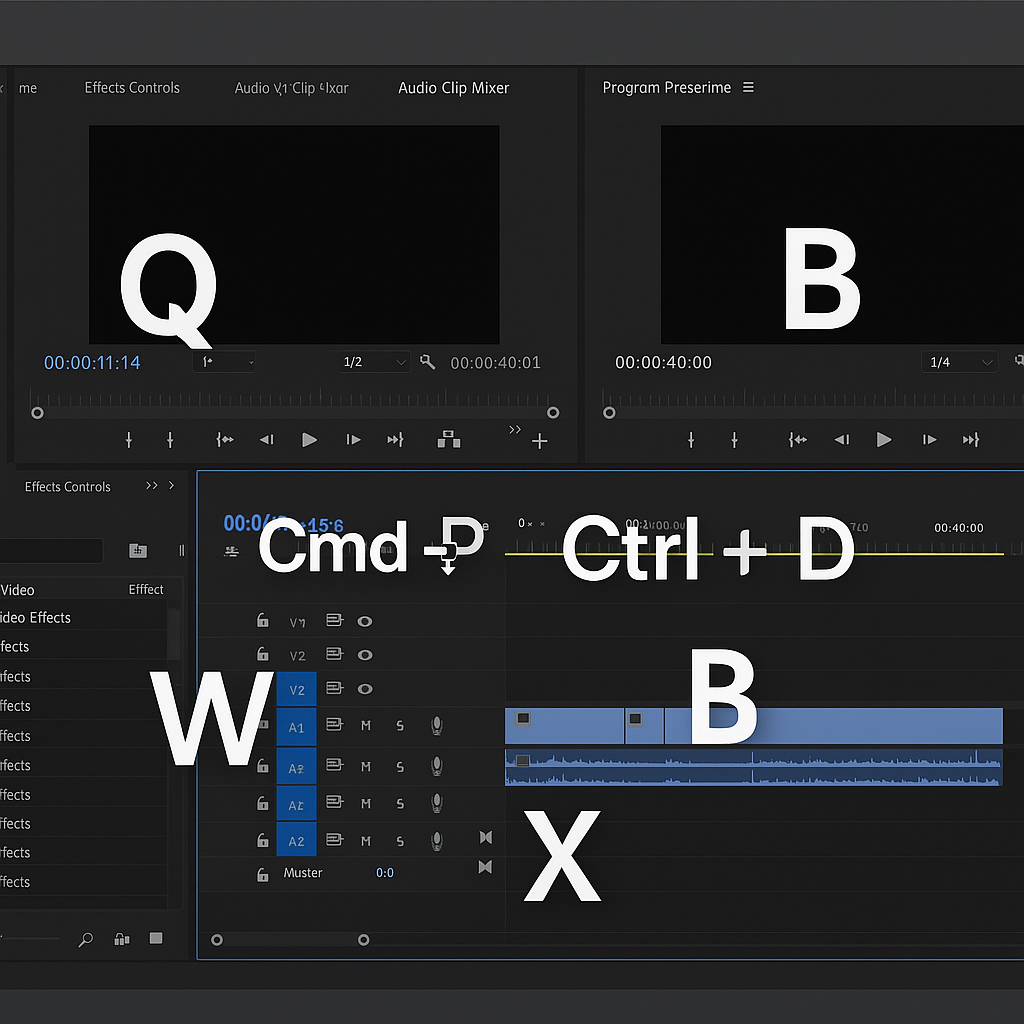
So here are 5 Premiere Pro shortcuts that will immediately change how you edit:
1. Q – Trim to the left
Put your playhead where you want the cut, hit Q, and boom: everything to the left of the playhead is gone, and the gap closes automatically. No razor tool, no delete key, no ripple delete. Just one key.
2. W – Trim to the right
Same logic, but the other way around. Hit W and everything to the right of your playhead is deleted. Again, the gap closes on its own. These two shortcuts alone will make you edit 10x faster when cleaning up long clips.
3. Cmd/Ctrl + K – Add Edit (Cut at Playhead)
Normally you’d hit C for the razor, click to cut, then hit V to get back to the selection tool. That’s three steps. With Cmd/Ctrl + K, you just cut at the playhead instantly without leaving the selection tool.
→ It sounds small, but once you get used to it, you’ll never go back.
4. B – Ripple Edit Tool
This one’s underrated. Select the edge of a clip, drag it shorter, and the rest of your timeline automatically shifts with it. No gaps, no clips drifting out of sync. If you hate manually moving everything every time you shorten a shot, B is your new best friend.
5. Cmd/Ctrl + D (and Cmd/Ctrl + Shift + D for audio)
Want to add a fade without dragging transitions from the effects panel? Select a clip, hit Cmd/Ctrl + D, and you’ve got a cross dissolve instantly. Do the same with Shift for audio, and you’ll get a fade in/out. It works on text, images, and video clips. It’s so simple it feels like cheating.
Why Premiere Pro Shortcuts matter?
If you only used these 5 shortcuts in your editing, you’d already notice a big jump in your speed. Less tool switching, less dragging, fewer clicks. Editing becomes smoother and less frustrating.
And these are just the starter pack.
Premiere has dozens of other tricks — shortcuts, hidden workflows, little hacks — that Adobe doesn’t exactly advertise. Over the years, I’ve collected the best ones into a single guide I wish I had when I was starting out.
It’s called Premiere Hacks, and it’s my ebook (you can buy at the bottom of this page directly) filled with real-world editing tips. Not just theory, but the practical stuff I use every single day, plus all the most important Premiere Pro Shortcuts.
👉 If you’ve ever thought “There has to be a faster way to do this in Premiere”, this guide is for you.
Summary
You don’t have to learn all 400 shortcuts in Premiere Pro. Just the right ones. The ones that actually save you time. I’ve given you 5 here. If you want the rest — the full set of hacks that make editing faster, easier, and a lot less painful — grab the ebook. Your future self will thank you when your edits take hours less.
What’s inside the Premiere Hacks ebook?
The ebook goes way beyond a few keyboard shortcuts. Here’s a glimpse at the full content:
1. Shortcuts for
-
Speedy workflow
-
Premiere Pro interface
-
Bonus
-
Where to find them?
2. Hacks
-
New tools
-
Established tools
-
Podcast editing tips
-
Hidden Premiere Pro functions
-
Simplifying your projects
-
Replacing fonts
-
Audio hacks
3. Tips
-
Improving Premiere Pro performance
-
Proxies workflow
-
Cache files
-
Autosave
👉 This is just the table of contents — inside you’ll get clear explanations, step-by-step workflows, and real examples from daily editing work.

Comments are closed