
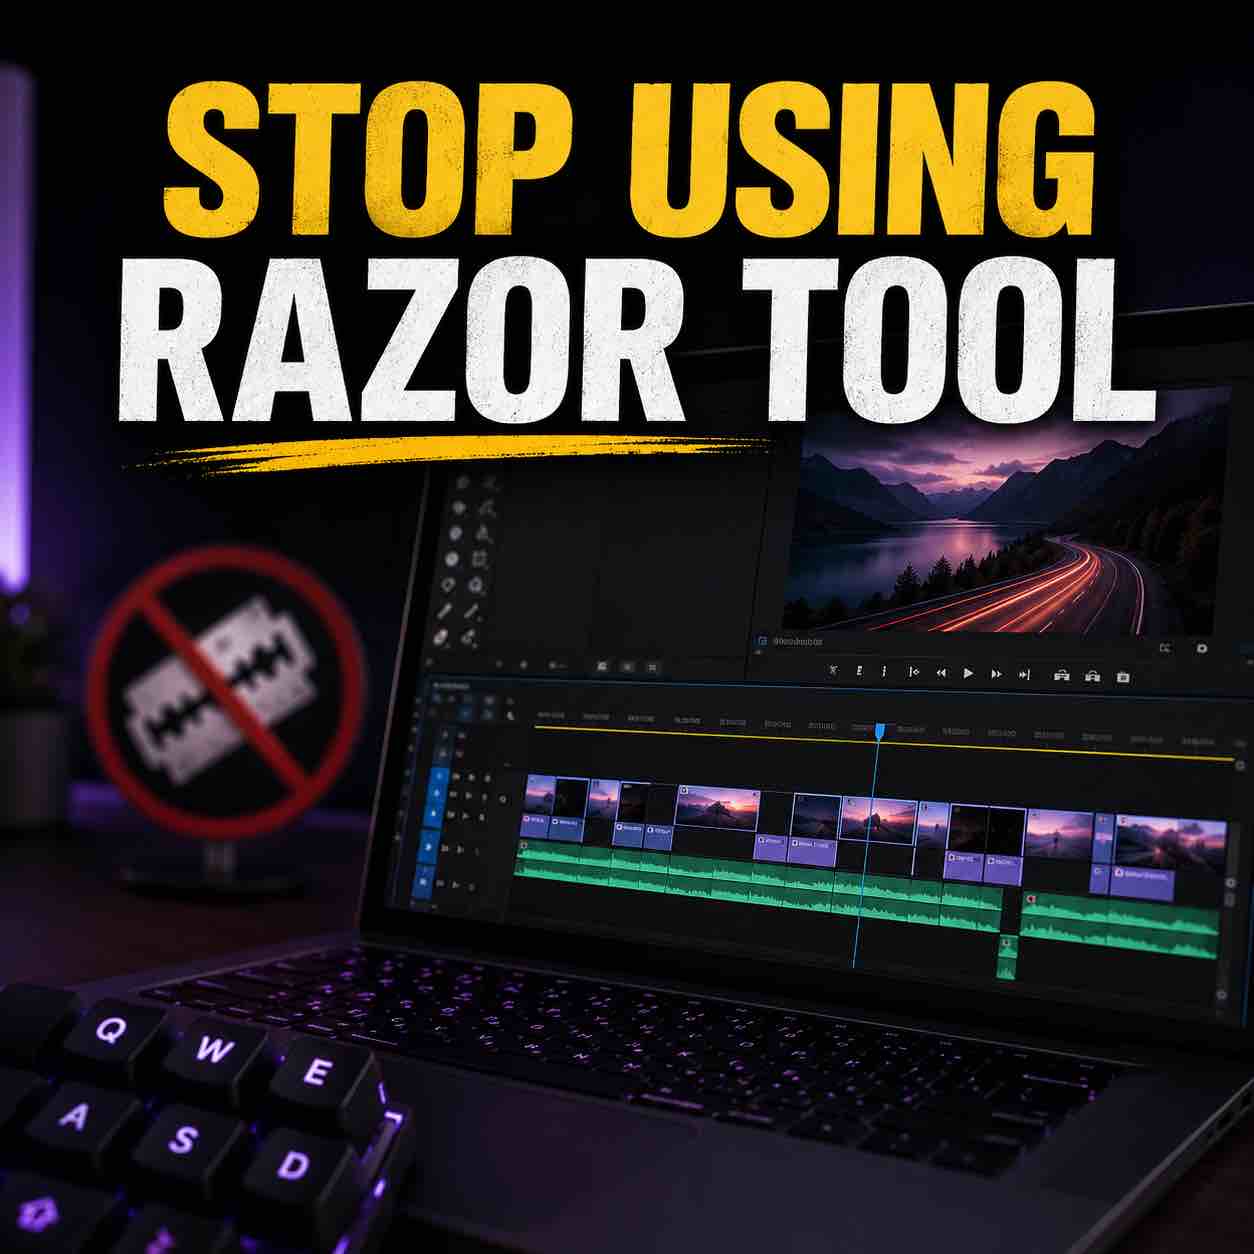
If you are still using the Razor Tool to cut clips in Premiere Pro every time you want to split the footage, I need to have a word with you. I am being serious.
You do not need it in most situations. Maybe in 5% of situations, yes, the Razor Tool can still be useful. I am not saying it should be deleted from Premiere Pro and sent to live on a farm. But for everyday editing? No.
The Razor Tool has been replaced by much faster and more effective ways to cut clips in Premiere Pro. The problem is that most beginners do not know about them because the Razor Tool feels like the most obvious option.
It is right there in the toolbar. You want to cut a video, so you click the little blade. Logical, right? Yes, logical. Also very old school.
It feels like Adobe kept it there because someone got nostalgic about physical film. Like, it is 1912, we are cutting actual film with actual blades, and now we need a cute little digital razor in Premiere Pro for emotional reasons.
Fine. Cute. But if you want to edit faster, especially if you are cutting interviews, YouTube videos, tutorials, talking head videos, TikToks, Reels, or client videos, you need to stop relying on the Razor Tool for every single cut.
There is a much faster way.
Why the Razor Tool Slows You Down
The Razor Tool is not the worst thing in the world. It works. The problem is that it adds extra steps to something you probably do hundreds of times in one edit.
Let’s say you have an interview in Premiere Pro. Technically, if you are editing an interview, you should probably use the Source Panel first. You would cut the best bits there and then bring them into your timeline. That is a good workflow.
However, a lot of people do not edit like that. Some people want to see the whole interview in the timeline first. Their brain works differently. And honestly, sometimes mine does too. So let’s say you have the whole interview in your timeline and you want to cut something out.
The beginner way is to go to the toolbar, click the Razor Tool, make the cut, then switch back to the Selection Tool. And yes, you might say, “No, no, Nicole, I use the shortcut, so I am fast.” Okay. Great.
You use the Razor Tool shortcut. You cut the video. Then you use another shortcut to go back to the Selection Tool. Amazing. Except not really. Because now you want to cut a bit in the middle. Maybe it is an “um”, a mistake, a dead pause, or a section that just does not need to be there.
So you cut one side. Then you cut the other side. Then you select the middle bit. Then you delete it. Then you click the gap. Then you delete the gap to close it. Technically, it works.
However, how long does it take? You might think it is not that bad because one cut feels quick. But when you are editing something long, those seconds add up.
If you are editing a long interview and the whole thing is going to take you six hours, you want to save every single second. Trust me.
The Faster Way to Cut in Premiere Pro
Instead of using the Razor Tool, place your playhead exactly where you want to make the cut. Then press Command K on Mac.
If you are on Windows, press Control K. That is it. You just made a cut without touching the Razor Tool.
The best part is that you are still on the Selection Tool. You did not have to go to the toolbar. You did not have to switch tools. You did not have to do the little Razor Tool dance and then come back. You just cut the clip and carried on editing.
That is why Command K or Control K is one of the first Premiere Pro shortcuts you should learn. It saves you seconds every time. And when you are editing a long video, seconds matter.
For even more tips like this, get my Premiere Pro PDF guide here.
Why Command K Is Better Than the Razor Tool
Command K on Mac or Control K on Windows lets you cut the clip directly at the playhead. That means you do not need to manually select the Razor Tool, click the clip, then go back to the Selection Tool. It sounds like a small thing, but editing is full of small things.
Small delays, clicks, movements, annoyances that make you question your entire career path at 1 a.m. When you use Command K, the workflow becomes much smoother. You place the playhead, make the cut, and stay in the edit. You are not stopping your rhythm every few seconds to change tools.
This is especially useful for interview editing because interviews usually need a lot of trimming. People pause, repeat themselves, say “um”, start sentences again, forget what they were saying, and sometimes take a scenic route to the actual point. Command K helps you cut through that faster.
How to Remove a Cut in Premiere Pro
Another useful tip is that if you make a cut and then realise you do not need it, you can remove it. Right click on the cut and choose Join Through Edits. Boom. No cut anymore.
This is useful when you accidentally cut something or when you change your mind. It keeps the timeline cleaner and saves you from having random unnecessary cuts everywhere. Because yes, Premiere Pro timelines can become messy very quickly. One minute you are editing a simple video, and the next minute your timeline looks like it has been through a divorce.
The Problem With Cutting and Deleting Manually
Let’s say you want to remove the middle part of a clip. You could use Command K to make a cut, move forward, use Command K again, select the middle part, press delete, then close the gap. That works. But again, it is too many steps. You made the cut. You selected the section. You deleted it. Then you had to close the gap.
By the time you have done that 500 times, 240 hours have passed, your coffee is cold, and you are questioning why you did not become a baker. There is a faster way. This is where Q and W come in.
Use Q and W to Cut, Delete and Close the Gap
Q and W are two of the best shortcuts in Premiere Pro if you want to speed up your editing workflow. They are called ripple trim shortcuts. The easiest way to remember them is this.
Q is on the left side of the keyboard.
W is on the right side of the keyboard.
Now imagine your playhead is between them. Q works to the left. W works to the right. That is the simple version.
If you want to cut where your playhead is and delete everything to the left, use Q. If you want to cut where your playhead is and delete everything to the right, use W.
And the beautiful thing is that Premiere Pro also closes the gap for you. So with one shortcut, you make the cut, delete the unwanted part, and close the gap. That is why Q and W are so much faster than using the Razor Tool.
How W Works in Premiere Pro
Let’s say you have a part of your interview that you want to remove. You have already made a cut before it, and now your playhead is sitting at the point where you want the next part to begin. If the section you want to remove is to the right of the playhead, press W. Premiere Pro cuts at the playhead, deletes the part to the right, and closes the gap.
It does not delete the whole timeline. It only affects the clip up to the next edit point. That is important. The cut separates the section from the next clip, so W removes the unwanted part without destroying everything that comes after it. Basically, W says, “Okay, this bit to the right is trash, goodbye,” and closes the gap like a polite little editing assistant.
How Q Works in Premiere Pro
Q does the same kind of thing, but in the opposite direction. If the unwanted part is to the left of the playhead, press Q. Premiere Pro cuts at the playhead, deletes everything to the left up to the previous edit point, and closes the gap. So again, remember it like this.
Q is on the left.
W is on the right.
Q deletes to the left.
W deletes to the right.
That is the easiest way to remember it. Once this clicks in your head, editing becomes so much faster. Instead of cutting, selecting, deleting and closing gaps manually, you use one key. One. Beautiful. Dramatic. Life changing, but in a very boring editor way.
Why Q and W Sometimes Do Not Work
There is one thing you need to keep in mind because this is the number one thing people get confused about. If your playhead is directly on the cut and you press Q or W, it may feel like it does not work. But what do you want Premiere Pro to cut? It is already cut. The playhead is sitting exactly on the edit point, so there is nothing new to cut there.
If you want to use Q or W properly, move the playhead slightly forward or slightly backward. Even one frame can make a difference. Then press Q or W. Now Premiere Pro has something to trim. So if Q or W is not doing what you expect, check where your playhead is. If it is directly on a cut, move it away from the cut and try again.
This tiny detail can save you a lot of frustration. Because there is nothing more annoying than pressing a shortcut and Premiere Pro acting like you are speaking to it in ancient Greek.
How to Cut All Tracks in Premiere Pro
Now let’s say your timeline is more complicated.
You have your main video, audio, music, B-roll, graphics, banners. You have multiple layers, because apparently one clean track was too peaceful. If you press Command K or Control K, Premiere Pro will cut the selected clip or active track at the playhead. But what if you want to cut through all the layers at the same time?
That is where you add one more key. On Mac, press Shift Command K. On Windows, press Shift Control K. This cuts through all tracks at the playhead.
So if you want to make a cut across your whole timeline, use Shift Command K or Shift Control K. This is much faster than cutting each layer one by one. Because nobody wants to sit there slicing video, music, graphics and B-roll separately like they are preparing vegetables for soup.
How to Delete Across Multiple Tracks
After you cut all tracks, you can also use Q or W to remove sections across multiple layers. For example, if you want to remove everything to the left of the playhead across your video, music, graphics and B-roll, you can use Q. Premiere Pro cuts and removes the section, then closes the gap.
If you want to remove everything to the right, use W. This can be very useful when you are cleaning up a timeline with many tracks. But you need to be careful. If a track is unlocked, Premiere Pro can cut it. If you do not want something to be affected, lock that track first.
So if you have music, graphics, B-roll or any other layer that you do not want to cut, lock it before using these shortcuts. If you lock it, Premiere Pro will leave it alone. If you do not lock it, it may get cut with everything else. And then you will be sitting there wondering why your music disappeared.
Premiere Pro did not betray you. You just did not lock the track.
When You Might Still Use the Razor Tool
I am not saying the Razor Tool is completely useless. There are still situations where it can help. Maybe you are doing something very specific. Maybe you prefer it for a certain type of cut. Maybe you are in that 5% of situations where it actually makes sense.
That is fine. The point is not that the Razor Tool should never be touched again. The point is that you should not use it as your main cutting tool when Premiere Pro has faster shortcuts built in. For most everyday editing, Command K, Control K, Q, W, Shift Command K and Shift Control K are much faster.
The Razor Tool is there if you need it. But you probably do not need it as much as you think.
Why These Premiere Pro Shortcuts Matter
Learning shortcuts in Premiere Pro is not about trying to look professional. It is about making editing less painful. When you edit faster, you save mental energy. You stop wasting time on unnecessary clicks and start focusing on the actual edit. Does the interview flow? Is the pacing good? Is the cut clean?
Does the viewer understand what is happening? Is the boring bit gone? That is where your attention should be. Not on clicking the toolbar every five seconds.
Shortcuts help you stay focused on the edit instead of fighting with the software. And if you are editing long videos, interviews, YouTube tutorials or social media content, these shortcuts can save you a lot of time.
The Best Premiere Pro Shortcuts for Cutting Clips
The best shortcuts for cutting clips in Premiere Pro are the ones you will actually use all the time.
Command K on Mac cuts at the playhead.
Control K on Windows does the same thing.
Q trims and deletes to the left of the playhead.
W trims and deletes to the right of the playhead.
Shift Command K on Mac cuts all tracks at the playhead.
Shift Control K on Windows cuts all tracks at the playhead.
These shortcuts are simple, but they make a big difference.
You do not need to learn 800 shortcuts in one day and turn your brain into mashed potatoes. Start with these. Use them in real edits. Get used to them.
After a while, going back to the Razor Tool for every cut will feel painfully slow.
Become faster editor and get my Premiere Pro PDF guide
I’ve created a PDF guide for every editor out there to help them become faster with simple hacks, tricks and shortcuts. If you are editing long interviews, YouTube videos, tutorials, TikToks, Reels or client work, this PDF guide is a must. Get it here.
Because editing already takes long enough. No need to make it slower by pretending we are cutting physical film in 1912.
Comments are closed