
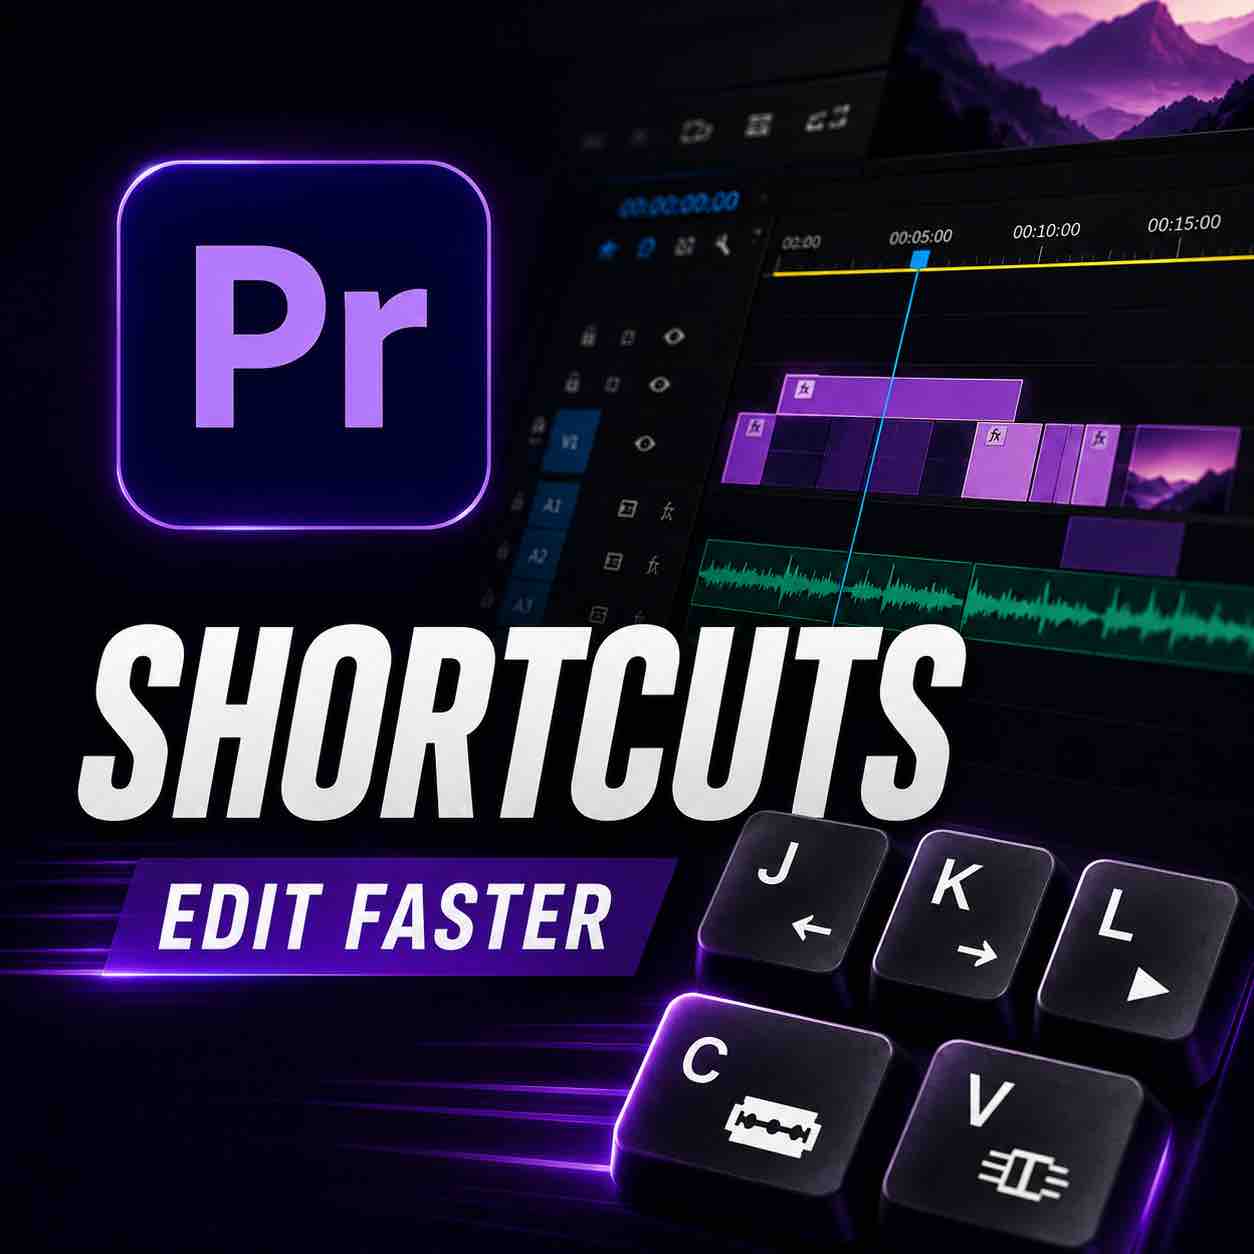
If you don’t know the crucial Premiere Pro shortcuts to help you speed up your workflow, you’re missing out on becoming a super fast video editor. Editing in Premiere Pro gets painfully slow when everything depends on clicking, dragging, zooming, trimming, searching menus, and slowly losing the will to live.
The good news is that a few shortcuts can completely change how fast you work!
After 15 years of professional editing, I genuinely think these Premiere Pro shortcuts are essential. Not because they make you look fancy, but because they stop simple editing tasks from taking forever.
Whether you’re editing YouTube videos, client projects, podcasts, tutorials, social media clips, or long-form content, these shortcuts will help you move faster, fix mistakes quicker, and spend less time fighting your timeline.
Why Premiere Pro Shortcuts Matter
A slow editing workflow usually comes from repeating tiny manual actions over and over again.
- Moving clips by hand
- Setting in and out points manually
- Dragging the playhead everywhere
- Rebuilding the same effects on multiple clips
- Trying to select half the timeline without destroying the entire edit
None of these things feel massive in the moment, but they add up quickly.
Premiere Pro shortcuts help you work with more control. Instead of interrupting your creative flow every five seconds, you can move around your project faster and focus on the actual edit.
That’s the difference between editing like a professional and editing like someone trapped in a software escape room.
Fullscreen Any Panel With the Tilde Key
One of the quickest ways to make Premiere Pro easier to use is by expanding the panel you’re working in.
Click on the panel you want to enlarge, then press the key where tilde key is `.
This works with your timeline, program monitor, source monitor, effects panel, or any other active panel in Premiere Pro. Press the same key again, and the layout goes back to normal.
This shortcut is especially useful when your timeline is full of video layers, graphics, sound effects, music, captions, and all the usual editing chaos.
Instead of squinting at a tiny timeline, make it fullscreen and actually see what you’re doing.
Select Everything After a Point With Track Select Forward
Command A on Mac or Control A on Windows selects everything, but that’s not always what you want.
Sometimes only one section of the edit needs to move.
The Track Select Forward Tool lets you select all unlocked clips from the point where you click toward the right side of the timeline.
This is perfect when you need to create space, move a full section later, or adjust the structure of your edit without touching everything that came before it.
There is also a Track Select Backward Tool, which works in the opposite direction and selects everything to the left.
Instead of manually dragging a million clips and hoping nothing gets left behind, this tool lets you move whole sections properly.
Adjust Edit Points With the Rolling Edit Tool
Shortcut: N
The Rolling Edit Tool is useful when you need to adjust an edit point without messing up the surrounding clips.
A good example is censoring a word with a beep.
Maybe the beep sound is slightly too short, or maybe it doesn’t cover the full word properly. The normal Selection Tool can make this awkward because you might accidentally move the clip or create a gap.
Press N to activate the Rolling Edit Tool, then adjust the edit point more precisely.
This lets you extend or reduce the section in a cleaner way, which is exactly what you need when timing matters.
Move a Clip Without Changing Its Length With the Slide Tool
Shortcut: U
The Slide Tool is useful when the length of a clip is already correct, but its position needs adjusting.
Let’s go back to the beep example.
Maybe the beep is the right length, but it starts too early or too late. You don’t need to trim it. You just need to move the whole thing.
Press U to activate the Slide Tool, then shift the section into the correct place.
The duration stays the same, but the position changes.
This is one of those small tools that saves a surprising amount of time when you’re doing detailed edits.
Mark In and Out Points Faster With Forward Slash
Setting in and out points manually works, but it’s not always the fastest option.
Normally, you would place the playhead at the beginning, press I, move to the end, then press O.
A faster method is to highlight the clips you want to mark and press forward slash.
Premiere Pro automatically creates the in and out points around your selection.
This is very useful when you want to export a specific section, preview part of the video, or quickly mark a group of clips without carefully placing the playhead.
Small shortcut. Big time saver.
Move Between Edit Points With the Up and Down Arrows
The up and down arrow keys help you jump between edit points in your timeline.
This is great when checking your edit before exporting, especially if you want to move quickly between cuts, titles, sound effects, graphics, or clip changes.
Track targeting matters here.
Premiere Pro follows the tracks that are highlighted in blue. That means you can control which tracks it pays attention to.
For example, you can target only your title track if you want to check graphics. You can target audio tracks if you want to move through sound effects. You can also target multiple tracks when checking the full edit.
This makes reviewing your timeline much faster than dragging the playhead around manually.
Find the Original Clip With Match Frame
Shortcut: F
Match Frame is one of the best shortcuts in Premiere Pro.
Place the playhead over a clip in your timeline, press F, and Premiere Pro opens the exact frame from the original source clip in the Source Monitor.
This is incredibly useful when you need to check the raw footage, extend a shot, find another moment from the same clip, adjust your in and out points, or rebuild part of an edit.
The shortcut works based on where your playhead is, but make sure the correct clip is selected. If you accidentally select a text layer or graphic, Premiere Pro might not take you where you expected.
For actual video editing, Match Frame is one of those shortcuts that feels boring until it saves your entire sanity.
Copy Effects Quickly With Paste Attributes
Shortcut on Mac: Option + Command + V
Copying effects manually from one clip to another is a waste of time.
Paste Attributes lets you copy settings from one clip and apply them to another.
After copying a clip, press Option + Command + V on Mac. Premiere Pro opens a panel where you can choose what you want to paste.
This can include effects, motion settings, scale, position, opacity, volume, and other clip attributes.
It’s perfect for applying the same colour correction, resizing, audio settings, or effects across multiple clips.
Instead of rebuilding everything again, copy the clip, paste the attributes, choose what you need, and move on.
The Biggest Premiere Pro Workflow Mistake
Many beginner editors think they need to do everything manually.
That means too much dragging, too much clicking, too much menu searching, and way too much time wasted on basic tasks.
A faster workflow doesn’t come from knowing every shortcut in Premiere Pro. Nobody normal needs that.
The real improvement comes from learning the shortcuts that solve problems you run into every day.
Timeline navigation, clip selection, trimming, marking sections, finding source footage, and copying effects are the areas where shortcuts make the biggest difference.
Once these become automatic, editing feels smoother and less stressful.
You stop thinking about the software so much and focus more on making the video better.
Final Thoughts
Premiere Pro shortcuts are not just little tricks. They are what make editing faster, cleaner, and much less annoying.
Start with the shortcuts you’ll actually use every day.
The tilde key helps you fullscreen panels.
Track Select Forward and Backward make it easier to move big sections.
N opens the Rolling Edit Tool.
U opens the Slide Tool.
Forward slash marks selected clips.
Up and down arrows move between edit points.
F takes you back to the source frame.
Paste Attributes copies effects and settings without rebuilding everything manually.
You don’t need to memorise every shortcut at once. Start with a few, use them properly, and let them become muscle memory.
Your timeline will feel less chaotic. Your editing will get faster. And most importantly, you’ll spend less time doing things Premiere Pro could have done for you in one second.
To speed up your Premiere Pro workflow even more, I’ve created a simple Premiere Pro PDF guide with the shortcuts, tools, and fixes that actually matter.
It’s made for editors who want practical answers without wasting hours Googling the same problems.
Comments are closed